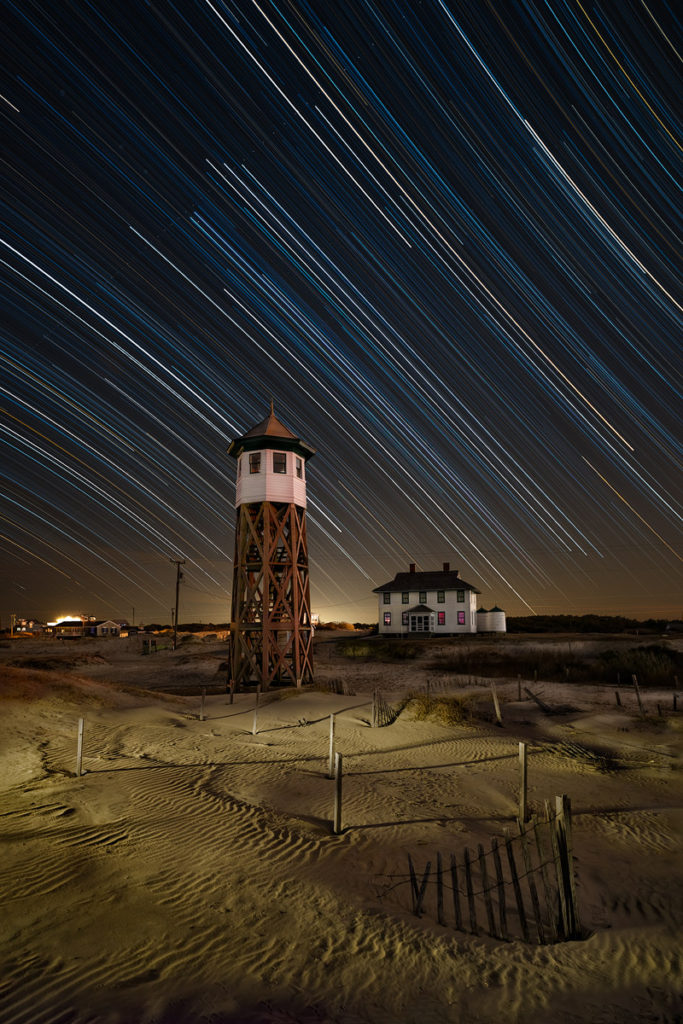
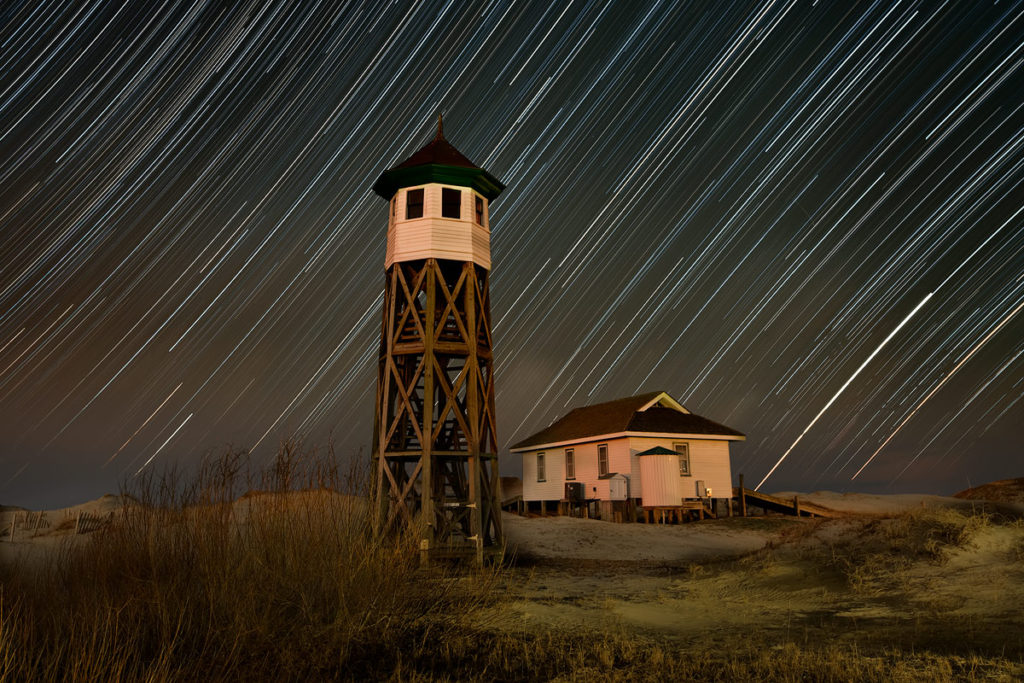
My wife and I spent March 3rd through the 8th at the Outer Banks. We planned the trip the week of the new moon so that I might have the opportunity to do some night photography. The weather was cloudy most of the time, but I did have two clear nights. I ended up staying out essentially all night on both of these nights.
All of the images shared in this post were taken on these 2 nights. I had a list of subjects and types of images that I wanted to take. Additionally a great photography planning app helped immensely. The app is called Planit Pro: Photo Planner. I was previously using Photo Pills, but switched over to Planit Pro about 18 months ago. Planit Pro has a VR (Virtual Reality) Viewfinder that is the game changer in my opinion. There is definitely a learning curve to using this full-featured app. Mike Shaw has published a great series of free video tutorials on the app. They can be viewed here.
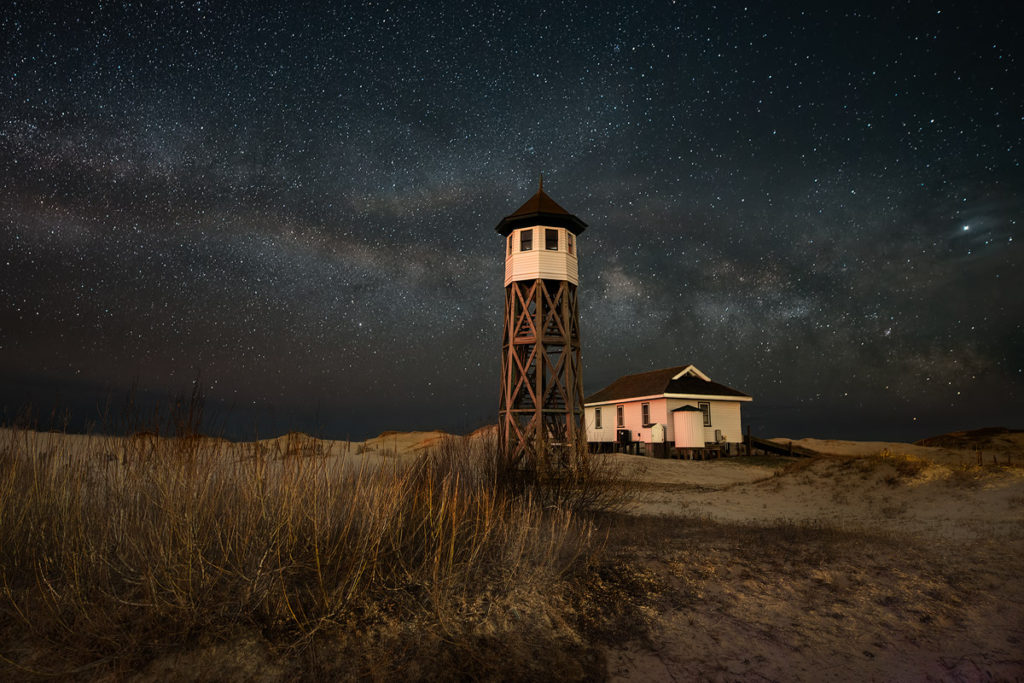
Here is the VR viewfinder screenshot for the above image.
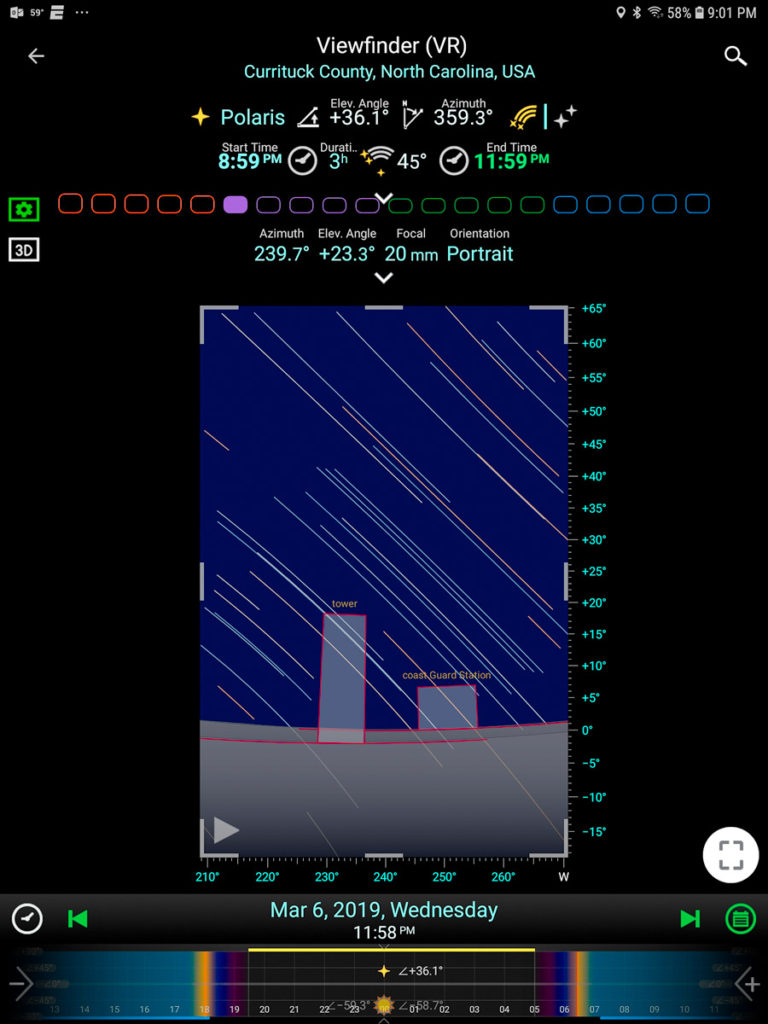
The simulated 3 hour exposure with a 20mm lens was a pretty close prediction of the actual image. It even shows the perspective distortion of the tower that I had to correct in my final image. Elevation data is used in forming the VR Viewfinder image, so hills and mountains will show up readily. Man-made structures are another matter. You have to input that information, You can measure distance in the satellite view and that is how I determined the width of the tower and station house. I had to estimate the height. For some structures, such as lighthouses, you can find the height online.
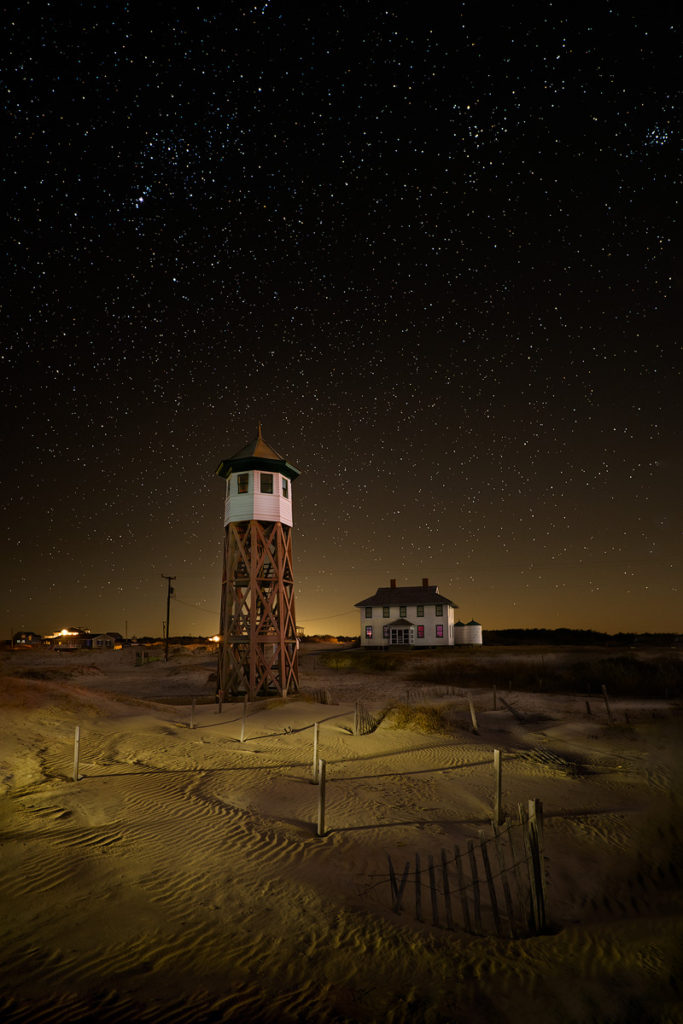
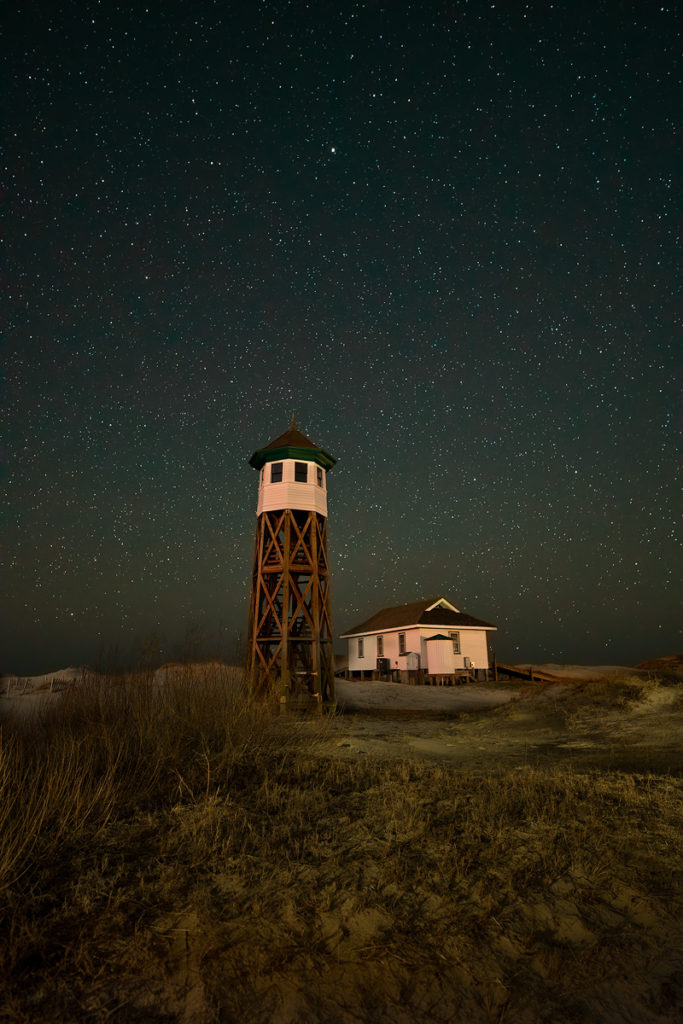
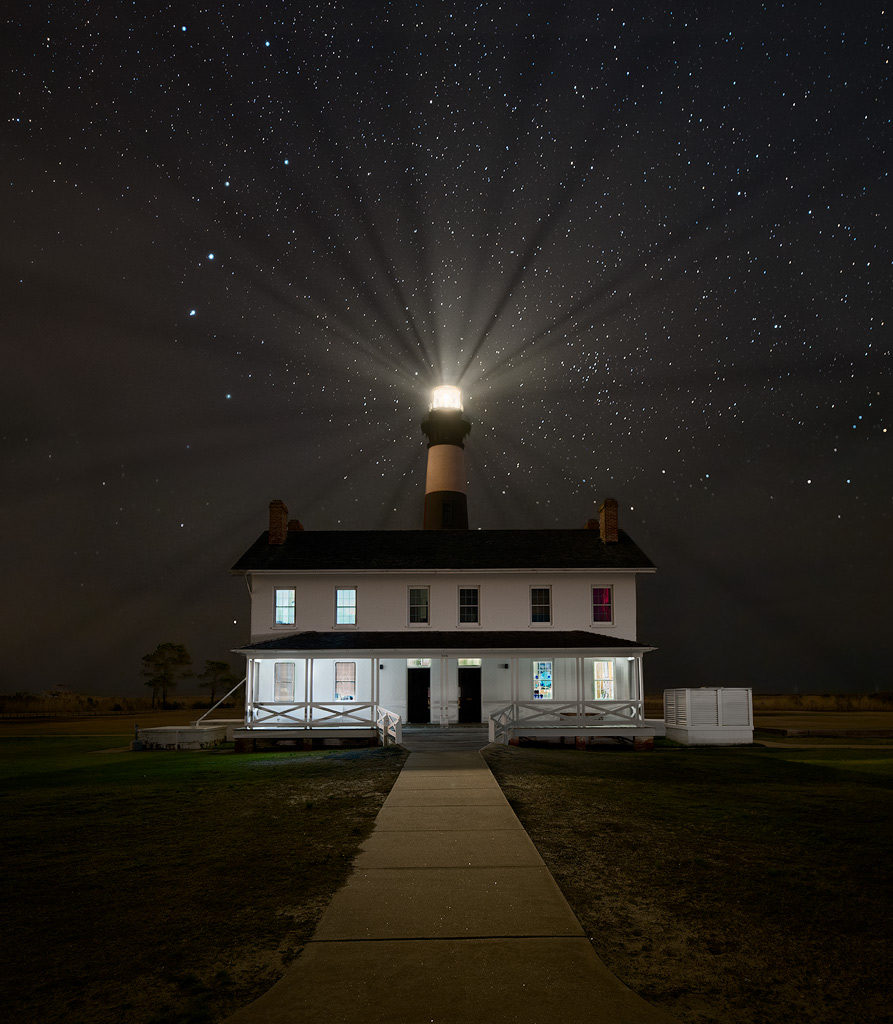
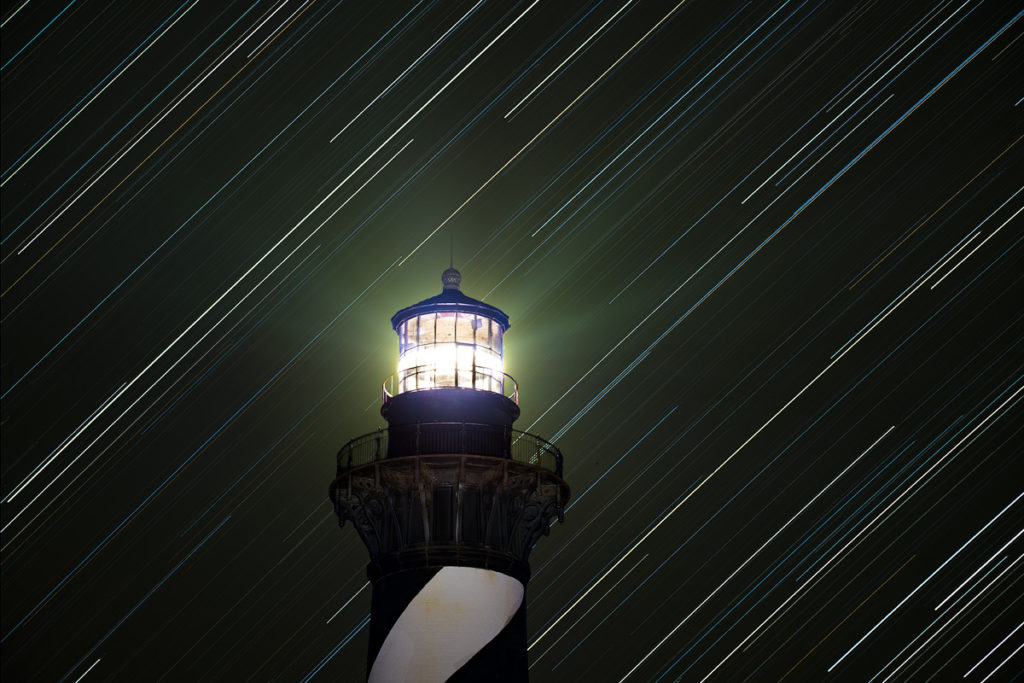
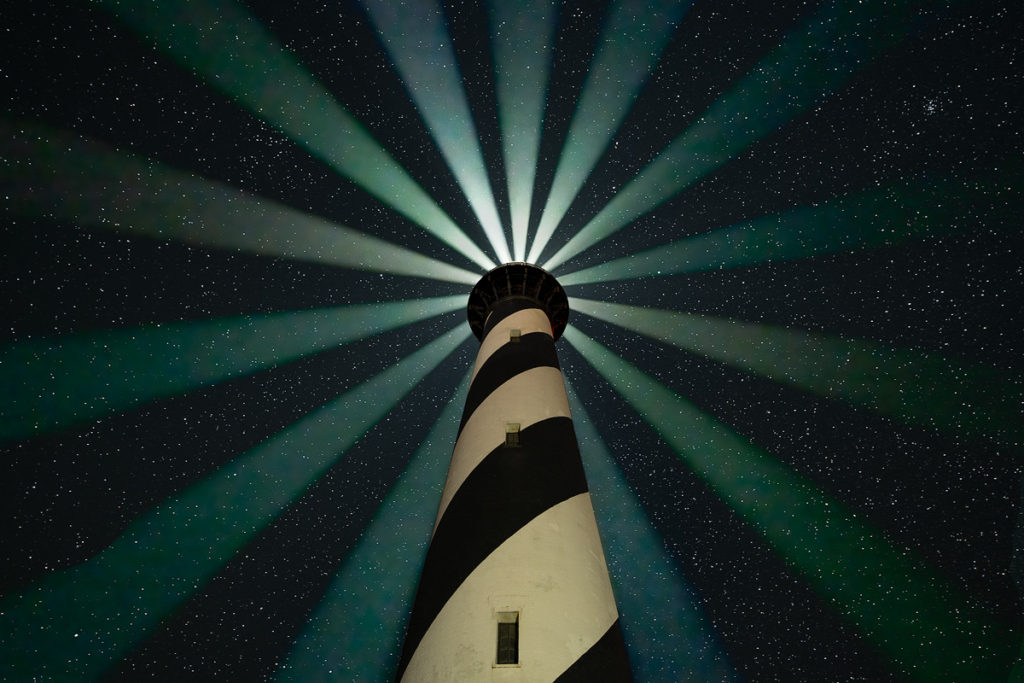
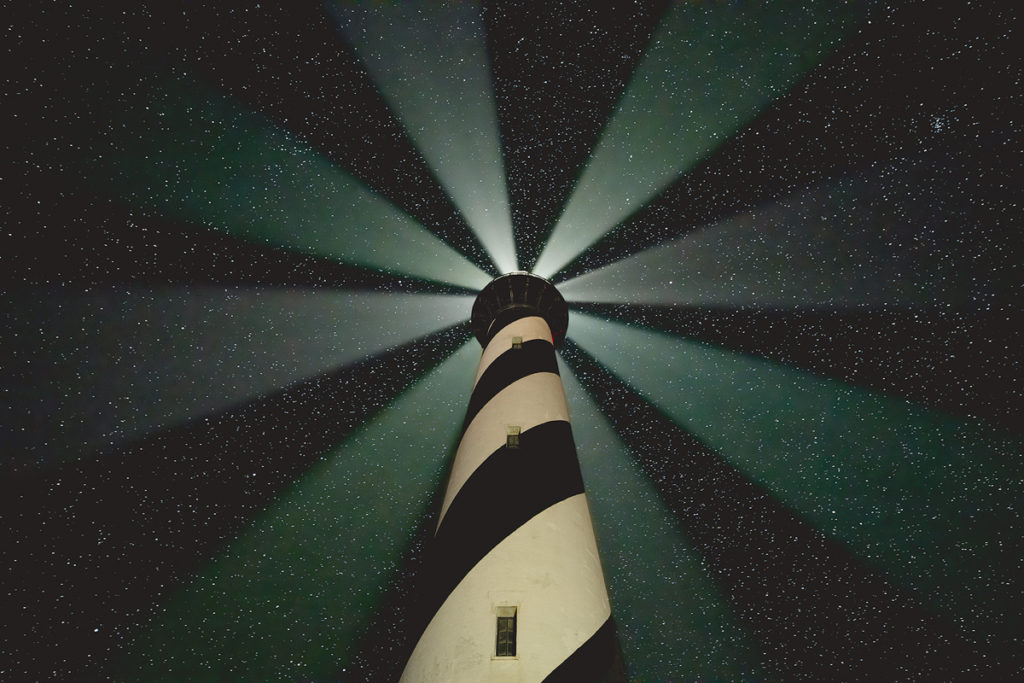
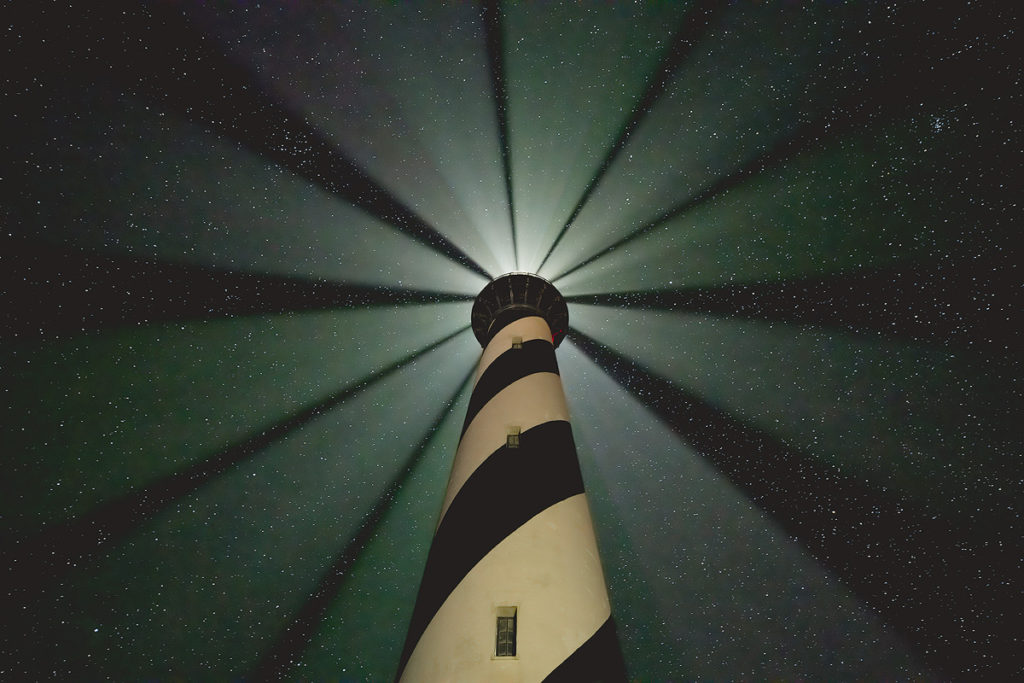
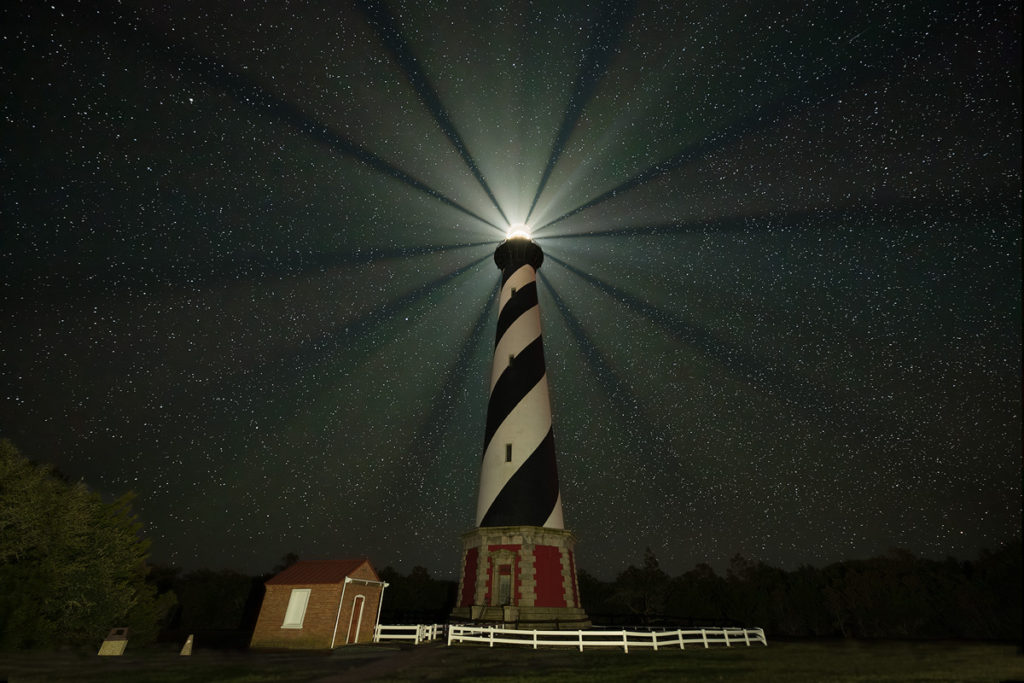
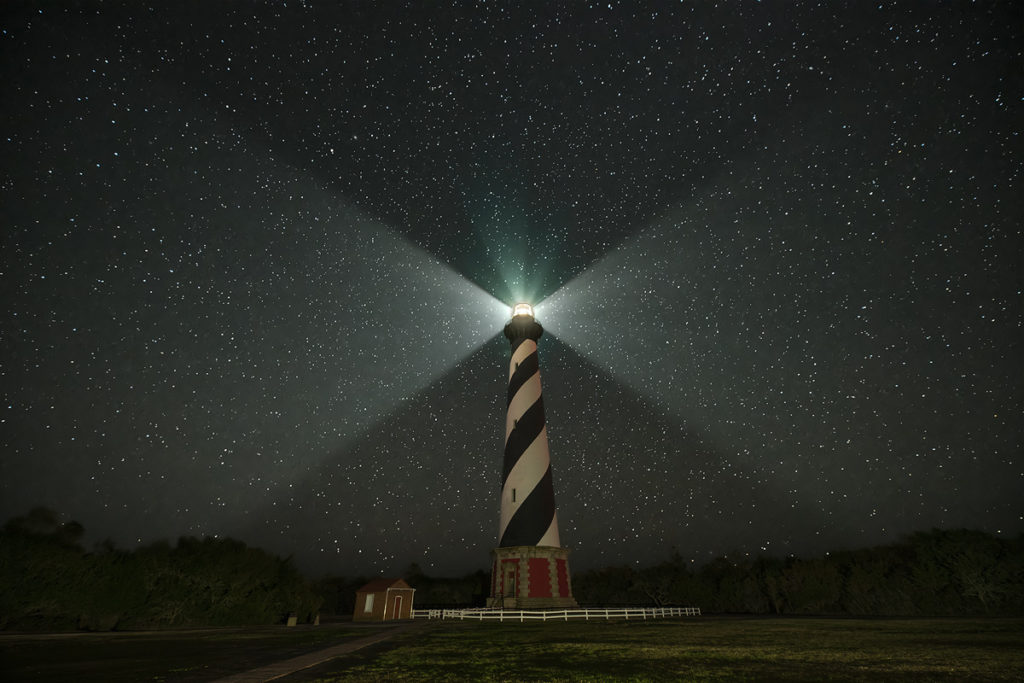
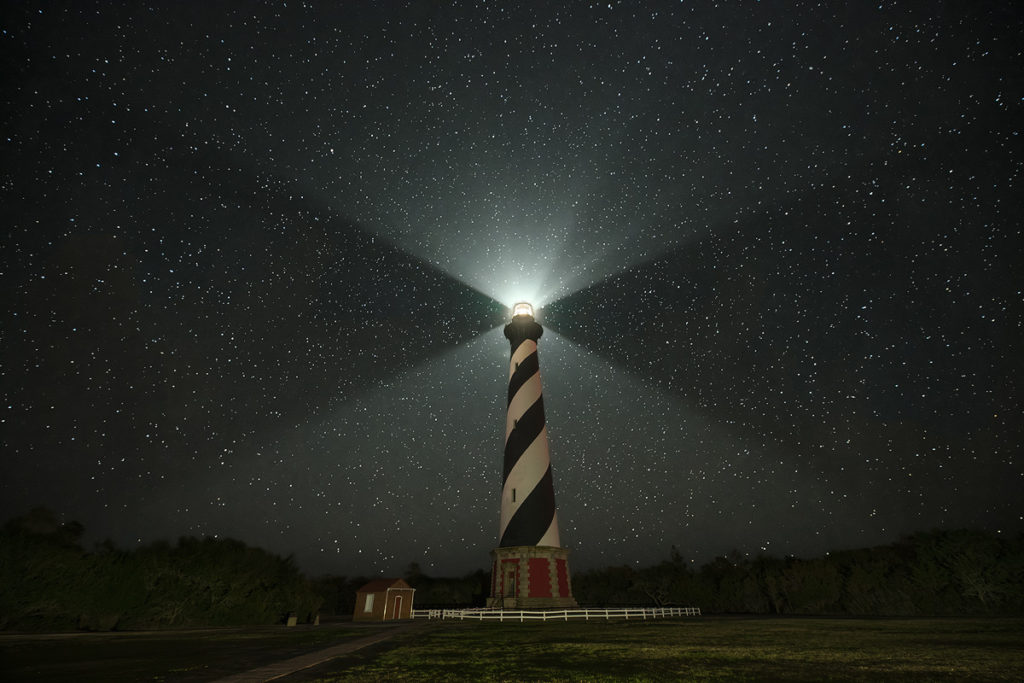
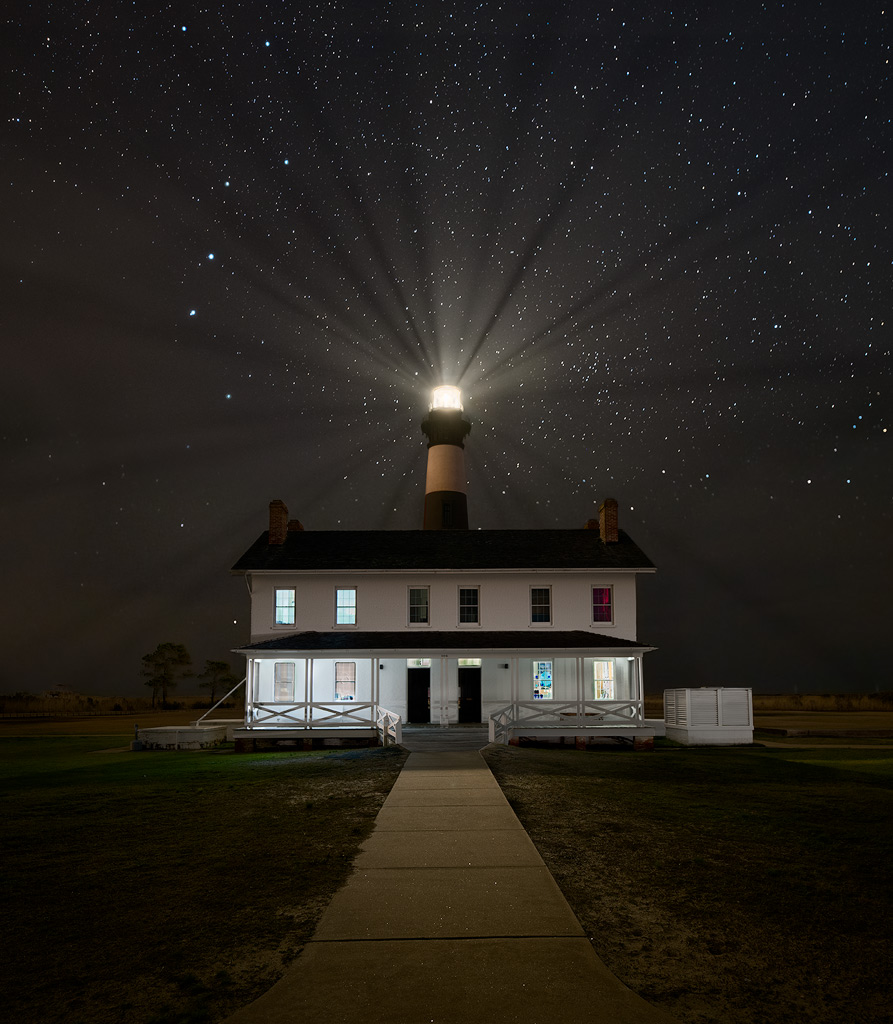
The following images are composites of multiple light beam images combined in Photoshop using the Lighten blend mode. You can learn more about the technique at J.M. Lobert’s blogpost. Another source is Gabriel Biderman’ post and video here. My technique is a modification of theirs and is still evolving. The light beam images are necessarily very short exposures and generally quite noisy. I used noise reduction and gaussian blur on the light beams. Heavy noise reduction creates its own artifacts; the use of gaussian blur eliminates these denoise artifacts. Since light beams do not have any real detail to speak of, you can easily get away with the noise reduction and blur.
The light beams were then combined with a normal exposure of the night sky and a low-ISO long exposure of the lighthouse. This method results in a fairly high quality image.
The technique requires a lighthouse with a rotating beam. The Cape Hatteras lighthouse has a dual beam that rotates. The width of the beams in the final image is dependent upon the exposure. In the first image below I used a 0.5 second exposure for each light beam and 7 beam exposures were combined in the final image. The next three images used 1 second exposures for the light beams, with 4 beams in the first image and 7 in the next two. The last two images have a single beam in the image, which was captured with a 4 second exposure.
